At the trailhead, just below the yurt, the creek narrows with high banks (not that the creek is very wide). More importantly, a logging trail from the troll bridge ends right at that spot. Put in a bridge and voila, another trail connected!!
First was finding the exact spot. The plan was to run a cable around four trees, two on either side. After a bit of bush wacking and lining things up I had my trees. The ones on the trailside were about 15 feet back from the edge on fairly flat ground. One the far side were two trees right at the edge of the bank with a slight incline behind them - perfect. I ran a rope across from trees to trees. Ninety feet. The two far trees were higher, about 10 feet I would think.
I had found an old piece of wire cable on the property, about 5/8 inch diameter. It was rolled but had been sitting in the undergrowth for years. Just getting it untangled and stretched out too a whole two days. The overall length was just shy of 400 feet. More than enough to go across the creek and back.
Next I cut some 2x4's and put two at each tree. I ran the cable across the creek, around the two far trees and back again. Using a come-along, I tightened the cable up and secured it with Ubolts. The cable went around the 2x4's at the trees, not touching the trees themselves. You don't want to kill your bridge supports.The cable is about 2 feet off the ground on this side and flush with the ground on the other, cutting down some of the height difference. I figure stepping up a couple of feet to get on is no problem in the summer and the winter snows will cut the difference down considerably.
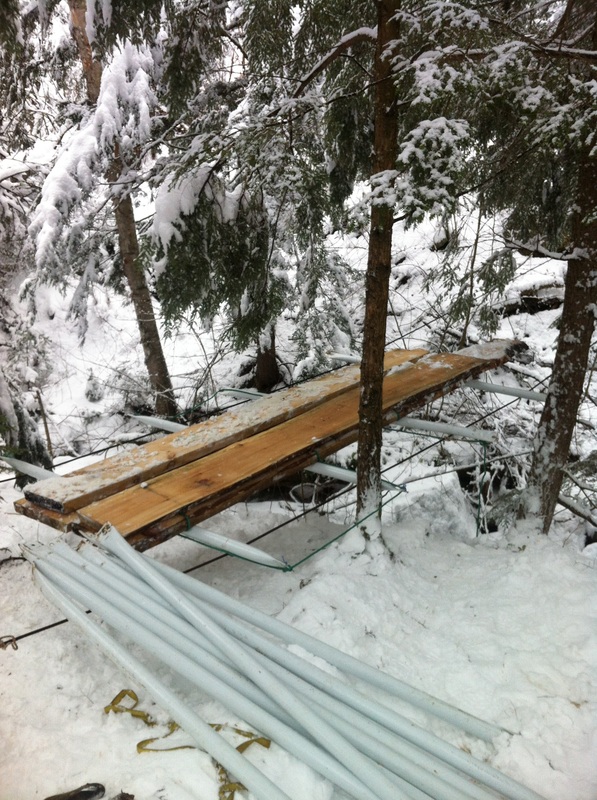
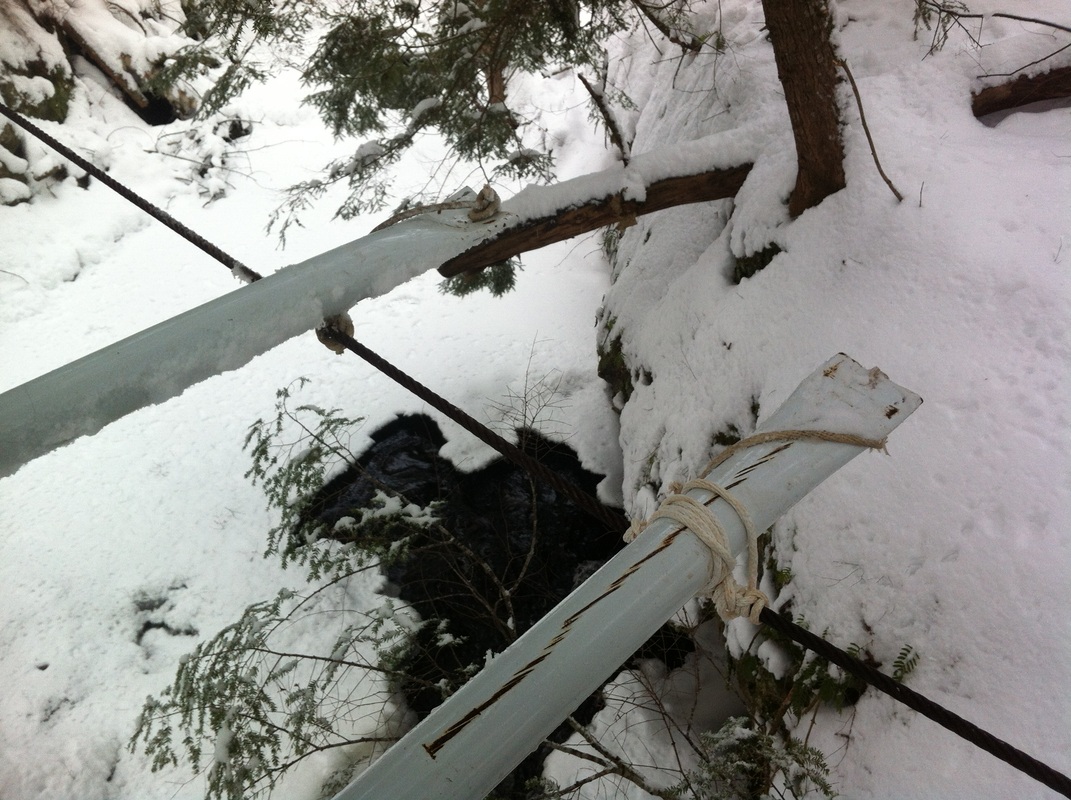
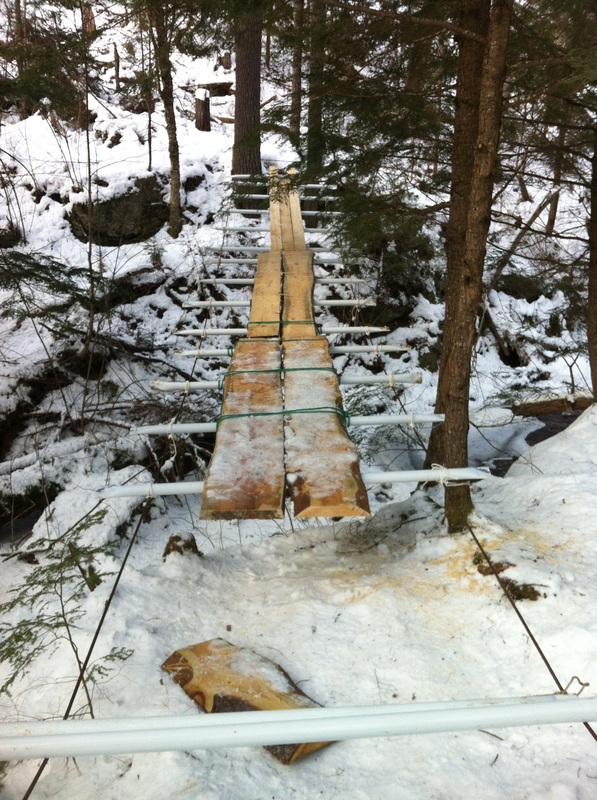
As you know, my big tent collapsed last year. There are quite a few 6 foot hollow tubes from the structure and I laid these across the wires. The wire is about 4 feet between strands so I have about a foot overlay on each side. The tube ends are flattened and drilled through so I tied a cord from each end back to the wire. This will prevent the tube from sliding sideways. Each tube was lashed to the wire to further prevent it from sliding.
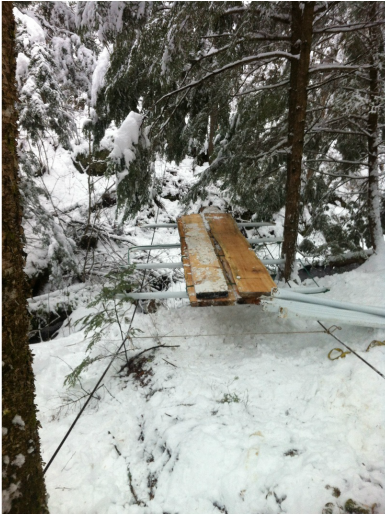
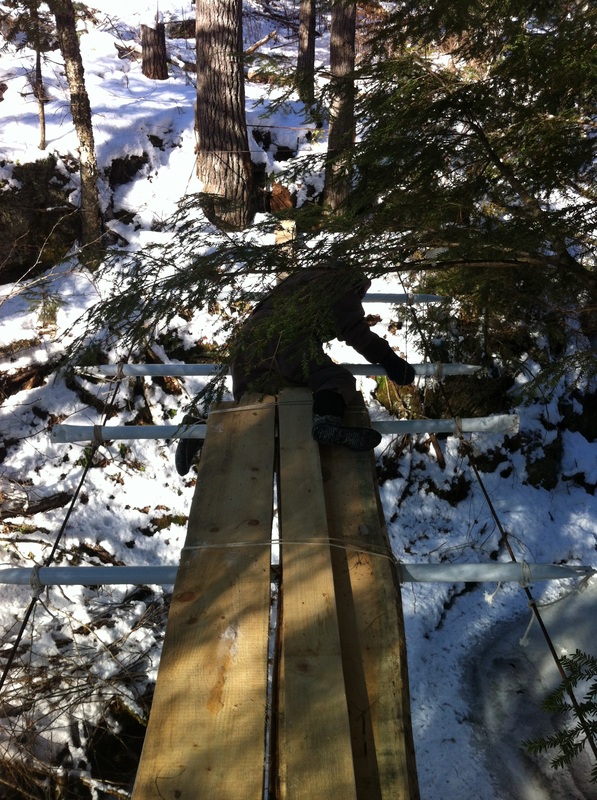
Securing the tubing was interesting. While standing on the bank I had no problem putting down a tube every 3 feet. Once I got to the chasm I had to get creative. I had planned on using the 2 inch thick boards I had as decking so once I got my first three tubes laid across the wire I put a plank ontop and lashed it down securely to the tubes. By pushing the plank out I was able to sit on the end and tie down the next tubes. With the plank on one side I was able to tie one end of the tube down and then I would push against the wire with my feet to move myself and the plank to the other side and then tie the otherside of the tube to the other cable. It was a bit hairy at first, sitting on the edge of a board over a rushing creek about 10 feet in the air but after a while it became pretty easy.
As I got to the end of one plank I laid the companion planks down beside the first one to be a walkway between 2-3 feet wide. I lashed down the planks (2-3) and started on the next section. Because I was going uphill the end of a plank would go under the tube not over. I solved this by always having a spare tube under the plank and as I pushed it forward, this spare tube rolled forward until I got to 3 feet and attached it. Once I got to the far end I extended planks about an extra six feet until they touched the ground.
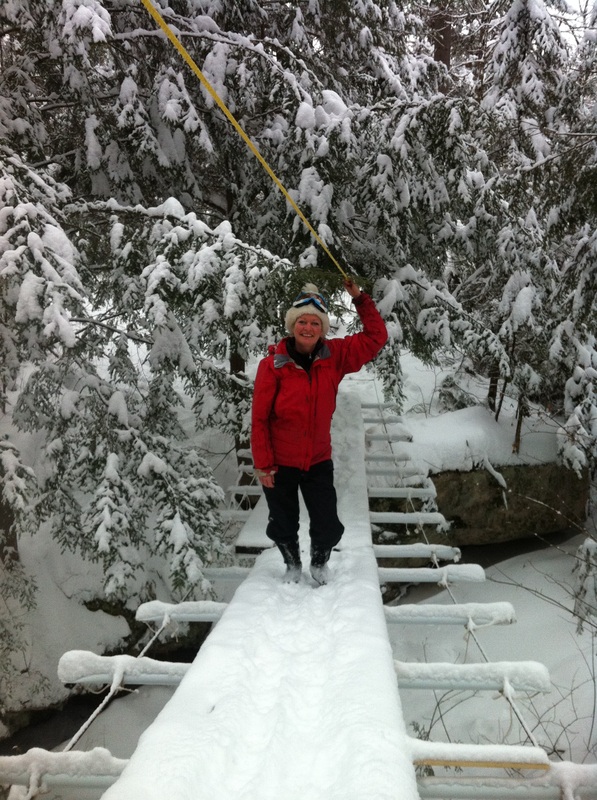
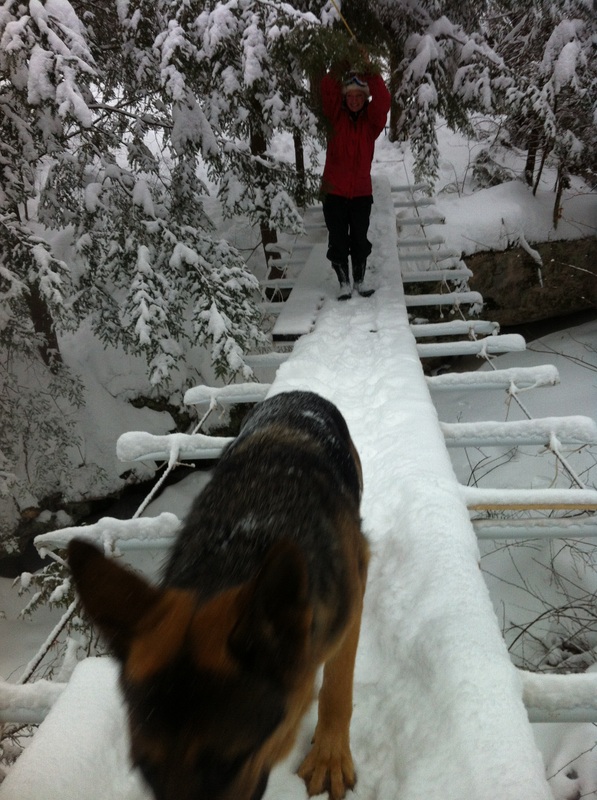
It was interesting to see how things progressed and changed. At the start the wires were incredibly springy but as I added planks (weight) the bridge stabilized. I also tied the side cables to nearby trees which helped minimize the sideways swing and I added an overhead rope as a safetyline. Lucy and the two dogs, Winston and Arthur have been over as well as some guests so I would call it a success!
This whole process took me several months, working occasionally on evenings and once in a while on weekends. I plan on widening the decking next summer but for now it's pretty impressive. You should come and try it sometime :)

 RSS Feed
