Around this time I was telling my woes to a welder working on the big excavator and he said he know of someone looking for a skidder. My price? $3K, what I paid for it. Well the guys came in a day later and had a look. The potential buyer was very thorough, finding that there was no compression in 3 of 4 cylinders, the brake resevoir was empty, one tire needed replacing, etc. He was offering $2.5K cash and did I accept. I said I would accept $3K but needed a few days to consider the lesser amount. I wanted to try the engine again one last time. Anyways, when I called back a couple of days later willing to sell, I found out that he had already bought another one. If he is right and the compression is gone, I've got myself a winter project, rebuilding the engine. Good thing I took the small engine course!!!
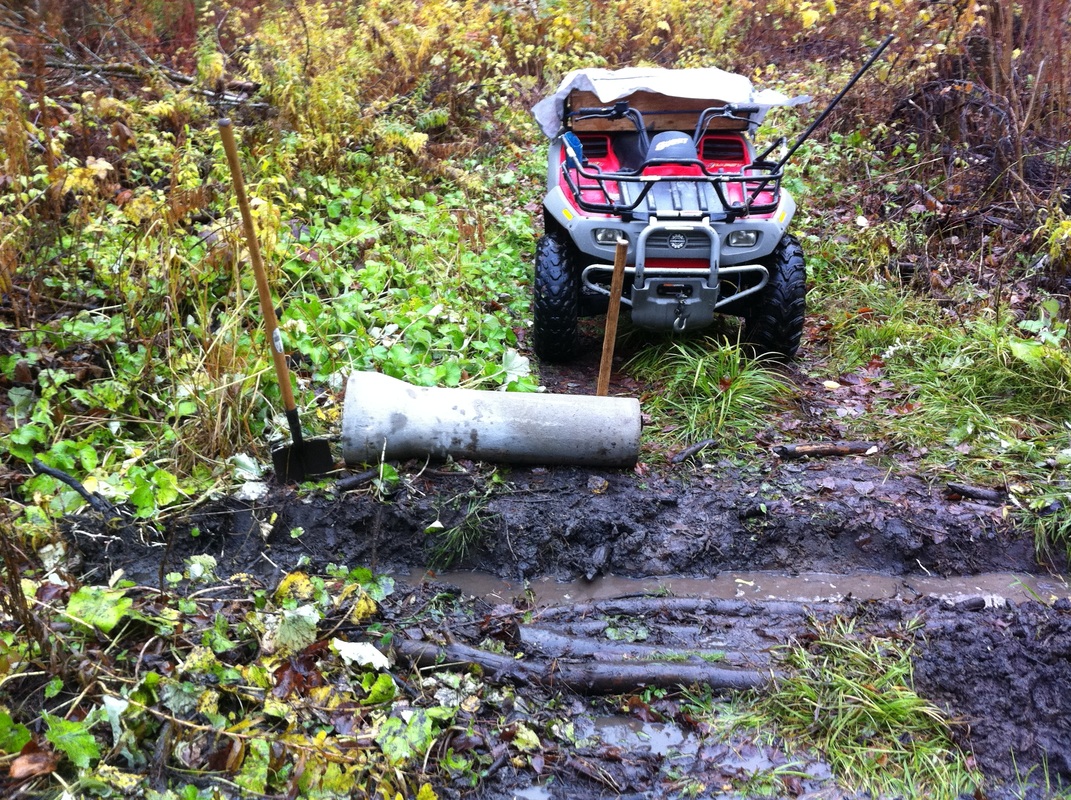
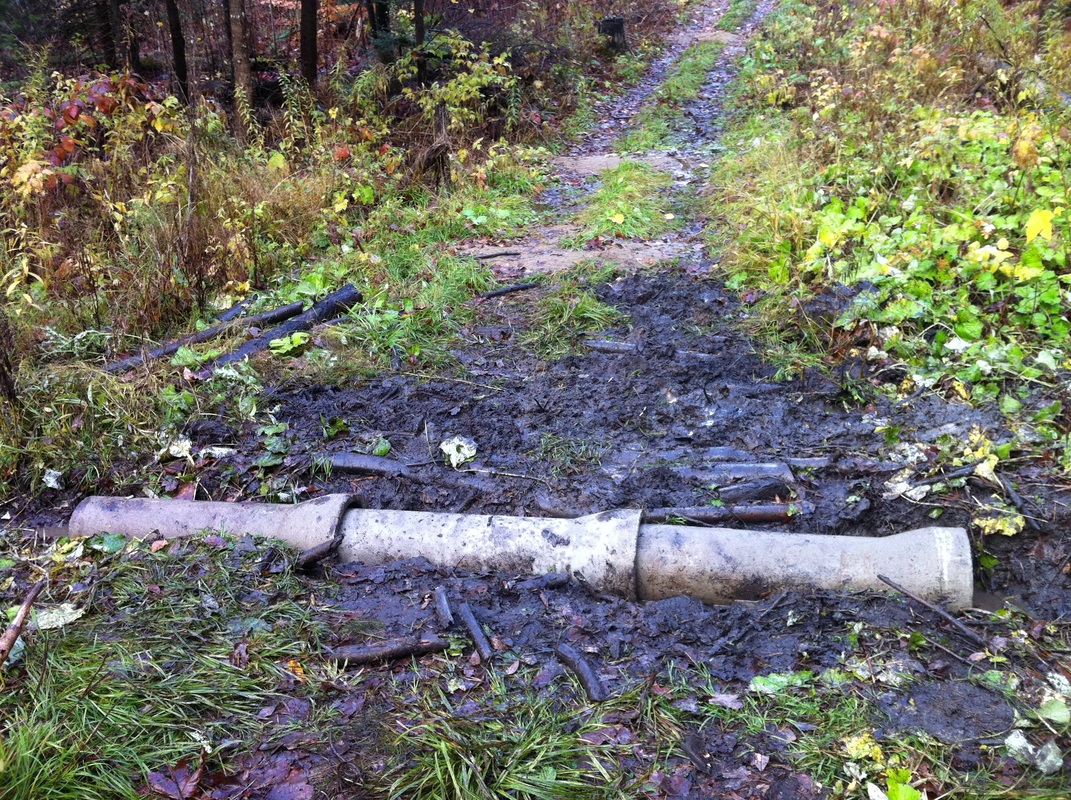
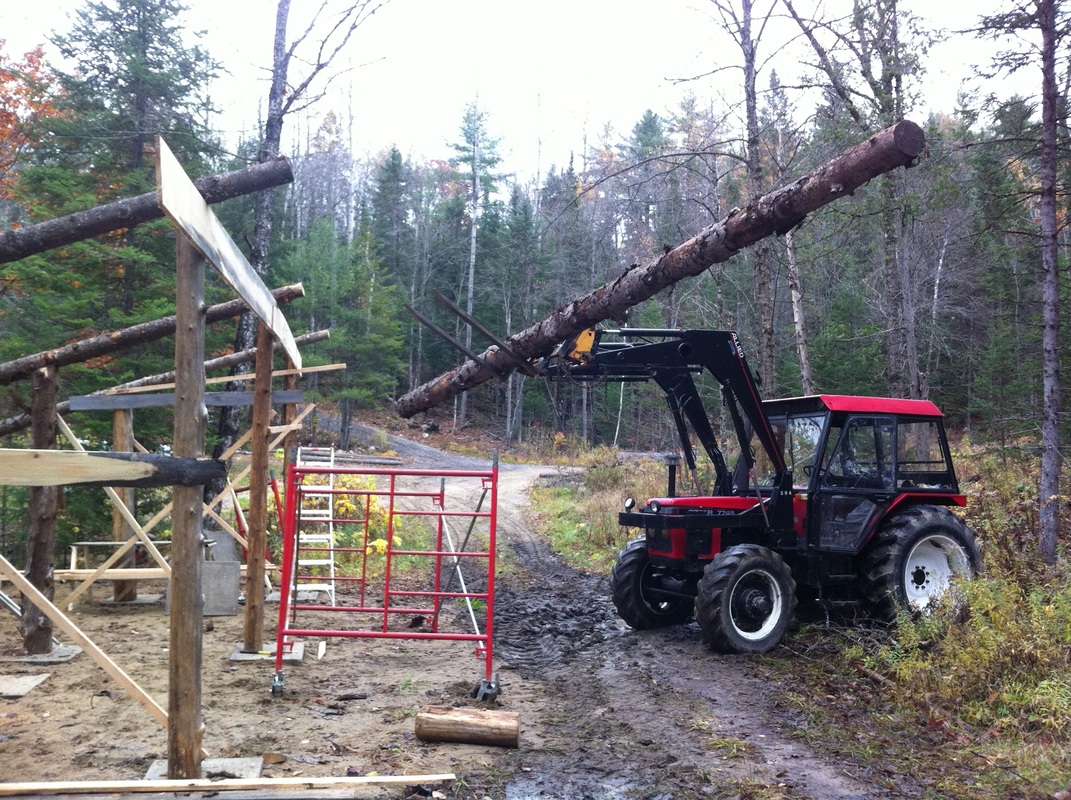
I got Dave and Rick over on the weekend to help me move Sid. I had jacked up and chained the front blade and hooked Zac up at the back and moved Sid slightly so I knew I could pull him with the tractor. I wanted Dave to steer Sid while I pulled him up the hill and to a better place but as it turns out the motor needs to be running for the hydraulic steering to work. I was able to change directions incrementally by towing from side to side and I managed to miss the woodpile and sailboat getting him down the road. Sid ended up between the apple trees at the garden and I hauled his ass end around so that the engine was slightly up.
Around this time I was telling my woes to a welder working on the big excavator and he said he know of someone looking for a skidder. My price? $3K, what I paid for it. Well the guys came in a day later and had a look. The potential buyer was very thorough, finding that there was no compression in 3 of 4 cylinders, the brake resevoir was empty, one tire needed replacing, etc. He was offering $2.5K cash and did I accept. I said I would accept $3K but needed a few days to consider the lesser amount. I wanted to try the engine again one last time. Anyways, when I called back a couple of days later willing to sell, I found out that he had already bought another one. If he is right and the compression is gone, I've got myself a winter project, rebuilding the engine. Good thing I took the small engine course!!!
0 Comments
Well I wasn't just building a shed all summer. I was at my friend Randy's and noticed some concrete culvert sections. "Help yourself" he said.
Now our Notch trail goes through a low swampy area that we has made a cordwood road over last year but it was still a bumpy wet ride. I had spent some time digging out both sides and trenching so there was a small ditch across the trail and the water was flowing from the high to low sides. Well I might as well enlarge that trench and put a culvert in, so I grabbed three sections from Randy's place and brought them home. There isn't much rocket science to putting in a culvert, make sure the trench is large enough, make sure it is straight, and make sure it slopes downhill so the water will flow. That's pretty well what I did and after transporting the sections one by one on the ATV (they must weight 100 pounds each) I got them all lined up, rolled them into the trench, seated them one into the other and it was done. Now just to bring in a huge amount of fill with the tractor and we'll have a nice dry road for this fall. If you've been up to the trailhead in the last year you've seen a very sad fallen down storage tent there. I had planned to build a new shelter there last year but you know how scheduling can be.
A few years ago I successfully built an 8' x 16' shed at the cabin and this time I was planning on building a 16' x 32' shed, 4 times the size. I spent time hauling sand and leveling the area to the left of the old tent. I also cut down a lot of brush and opened up a view of the creek below. Well when sweetie saw the results of my work she declared that the view of the creek was too pretty to build a shed there so I would have to do it elsewhere. After some careful consideration I came up with an area just over the culvert about 100 feet away. This area was quite a bit smaller and it took about 20 loads of fill with the tractor to get an acceptable flat area. The size of the shed was going to be smaller though. It ended up being 12' x 24'. Once the area was level I put down 12 patio stones. These corresponded to the footprint of the 4 bents I would put up on them. A bent is basically a wall. In log construction (timberframe as well) you build your bents first. The patio stones were six feet apart (12 foot depth) for the bents and 8 feet apart (between bents). I took some time making sure they were all level individually and as a group. Start with a crooked foundation and you get a crooked house, er shed. The bents consist of three poles - 10, 8 and 6 feet high, capped by a beam of 16 feet (2 foot overhand on each end). Each pole sits on a patio stone. This was to keep them off the ground so they don't rot out at the base. It's about the easiest way to do this but the big disadvantage is that the poles are not anchored to the ground but freefloat on the patio stones. Alternately I could have dug them into the ground or poured concrete pillars and put them on the pillars (attached with rebar). Anyways that what I did. Another disadvantage is that the bents are unsupported and you need to use braces to hold them up or else they just fall down. Well I got the first two bents up and braced with 1x2's okay. I was working on the third when the 10 foot pole decided to fall across and onto the first two bents. Like a stack of pick up sticks they all came tumbling down around me. Shucks! I realized that 8 feet between bents wasn't really a lot of room to manoeuver so now that I was starting again, I moved the patio stones so that one bent was removed and I now had three bents 12 feet apart. As the bents support the load on the roof I now had less support but I had a plan on dealing with that later. Soon enough I had all three bents up (soon measured in days). I spent some time making sure they lined up in both directions before screwing boards and 1x2's between them to keep them stable. I also screwed on the back wall boards for stability. I was pretty sure it was stable enough to start putting the beams up. I also put two posts between the three bents for additional support for the back beam as it was to be the biggest and would be holding the most weight with the winter snow (if it wasn't for a heavy snow load, you could just put up plastic sheeting to keep the rain out) Figuring out how to get the beams in place and up was interesting. I dragged the back beam into place with the truck and then manoeuvered the tractor into place so it was facing the structure. With the forks I lifted the beam up. Before going further I tied ropes to each end and tied these to trees. The tractor was just able to lift the beam above the bents (about 12 feet) and over. By tilting the forks I lowered the beam onto the bents and it rolled down until caught by the ropes (good thinkin). Everything was good except that the beam was too far to the right. I was able to sneak the tractor in and pinch the beam between the forks and lift it and move it to one side. For some reason I retied one side of the beam to the front of the bent (not good thinking). Now moving a tractor an inch or two isn't easy, even i low gear and when trying to back out I went too far to the side and caught the beam with the forks. This pushed it back, raising the front pole of the beam (which I had tied to the beam for some reason - duh). Trying to get it back with the tractor I just made it worse and down it all came - again. Just then Lucy and her friend came around the corner and they almost cried when they saw what had happened but I was determined to build this thing so, I cleared up and in a 1/2 day I was back to where I had been. I went to the sawmill and cut up the biggest tree I had ever cut on the mill. This pine was 30 inches at the butt and 15 feet long. I got 21 -16 inch boards out of it. I put up four boards on each side (over 5 feet) which really added to the support. I was ready. The third time I got the beam up easily and by slowly releasing the ropes, rolled it back to within a 1/2 log width of the back poles. With my chainsaw I flattened each bent rafter at an angle and cut out a section of the beam where they would rest together. I cut the two support poles flat and cut flat matching sections into the beam. I then rolled the beam into place. Well I didn't think it would be a perfect fit and it wasn't, but by cutting out the high points with the chainsaw I was able to get a reasonable fit. I then drilled holes in the beam and banged foot long spikes in to hold it all together. Once the back beam was done the middle and front beams went up easily. I need to buy more spikes tonight on my way home from work and hopefully I will get those in place tonight. Next will be to put two secondary beams in between the three main beams cutting the distance between from six to three feet. Pole rafters will go across the beams every three feet or so and then slats every eight inches across the rafters to screw the tin roof into. I'll have to brush down the high points with the chainsaw before putting the slats on so I have a relatively flat roof to screw the tin onto. Oh and I'll have to finish the walls and put four Y joists up between the center bent poles and the front and center beams. If I make them 6 feet long they will be supporting the beams 4 feet out, exactly where the beams would have been supported in my 4 bent design. Hopefully I'll be ready for the tin roofing in a week, just in time before the snow flies. |
AuthorLiving the life in Lone Wolf Forest Archives
November 2016
Categories |