Now Owls Nest is built on the side of a hill. The driveway goes up across the hill with one side being up and the other side down. I decided to excavate the upper side about 60 feet alongside the driveway, build a rock wall, backfill it with earth and plant fruit trees and bushes there. Simple really. I am pretty good with the backhoe on my tractor but I had never built a wall before.
The first step was to consult with my friend Charles. Charles works in landscaping and has a thing for stone walls, stacked drywalls to be exact. Charles came up in the spring and we had a look at the lay of the land. We discussed, how far back to dig, how deep to go, foundation, drainage, laying the wall, anchoring ot uphill so it wouldn't fall over, etc. etc, etc. We decided it was feasible.
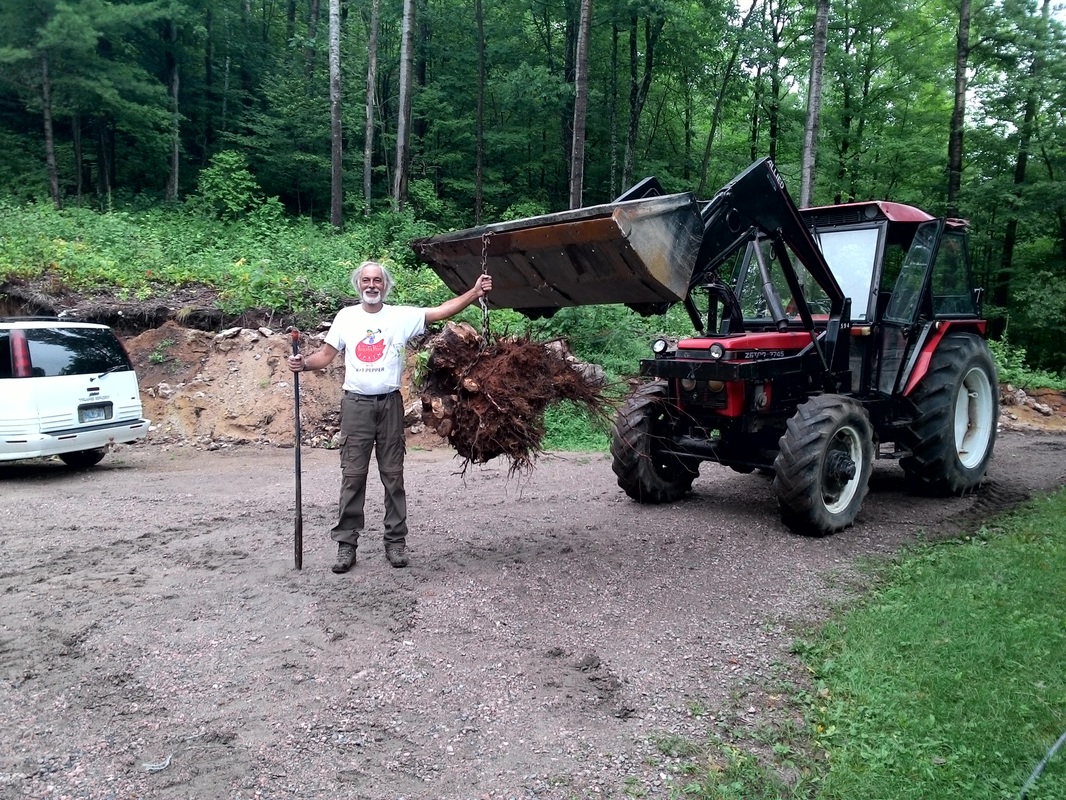
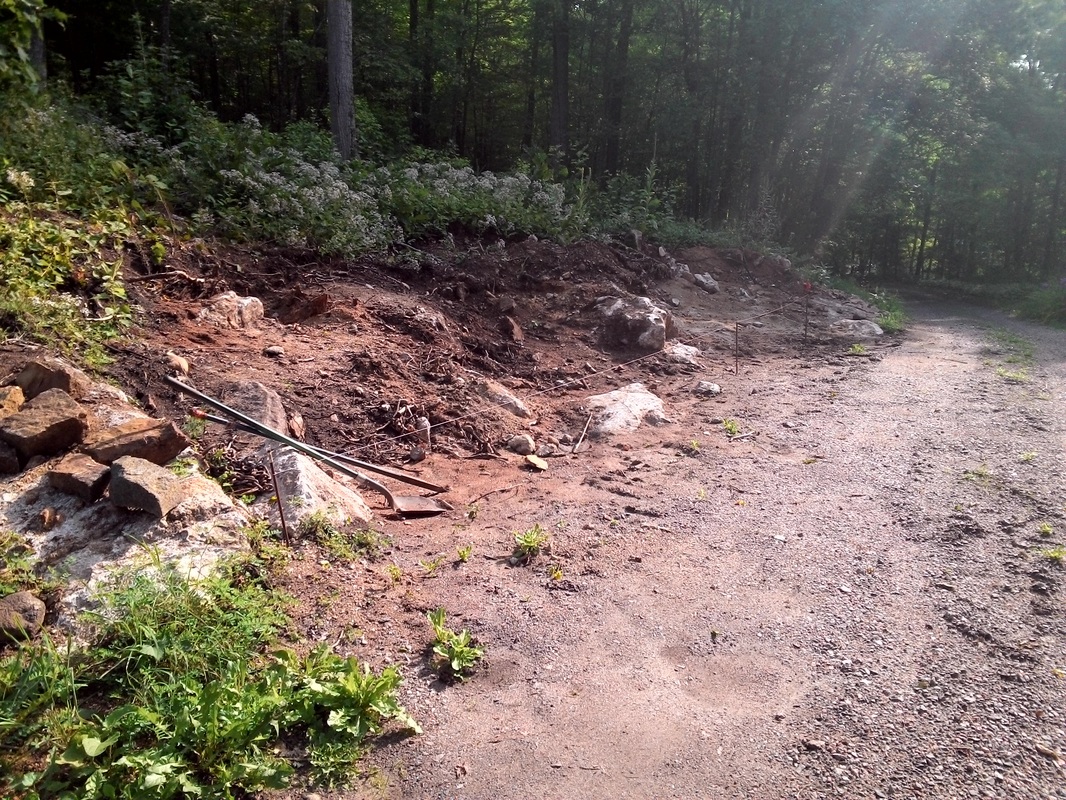
The first thing was to stake out a line where the wall would go. There was bedrock exposed at the upper edge where the driveway broadened into the parking area. This would mark the top end of the wall. About 60 feet down, a side trail went up the hill. The wall would go here, about 4 feet from the driveway. Next it was time to dig. Over the next few weeks I would backhoe earth and rocks, turn the tractor around to scoop material with the bucket and repeat down the length where I was going to build. As I got down to rock I ended up shoveling out what was left. I didn't have to get it all, just close. I had been hoping for a smooth rock slope but it turned out to be bedrock protrusions, roots and hardpack gravel.
Tree Roots/Excavation
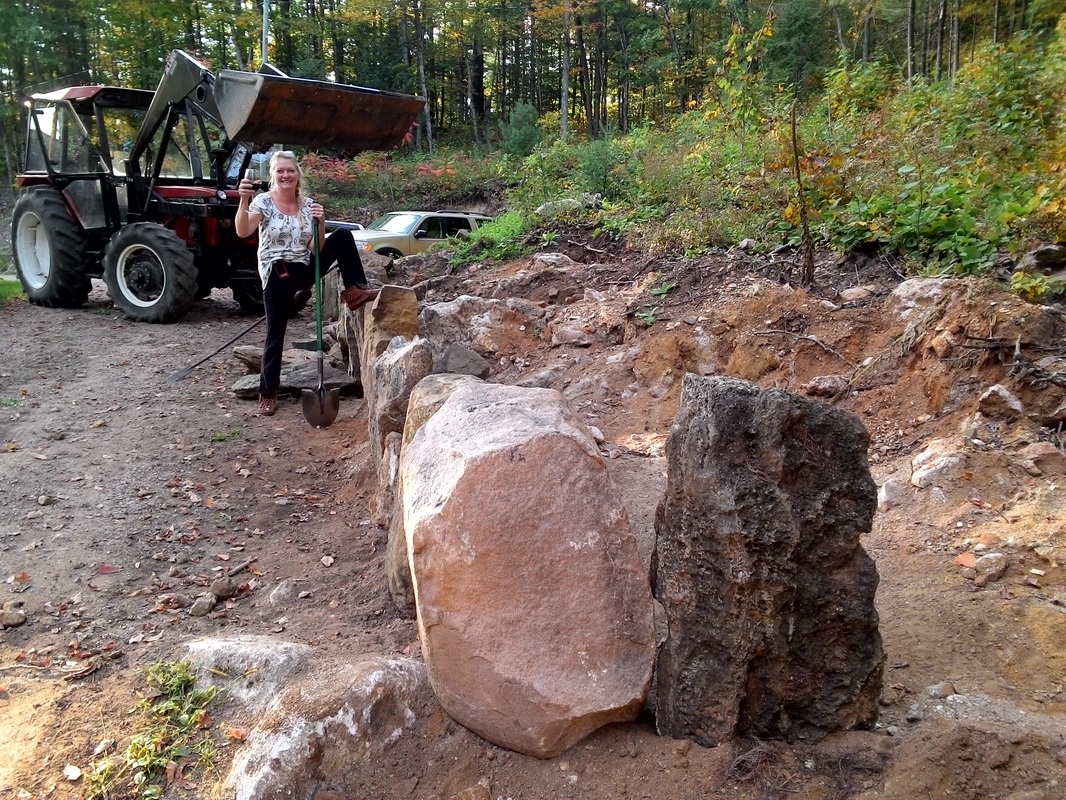
Late spring Charles, Pops and I went of a walk down Sahara road by the sand pit. Right beside the sand pit we found a beauty, a pink granite rock, flat on the bottom and two sides and standing about 4 feet high. This would become the anchor at the lower corner of the wall, the first rock you would see coming up the driveway. We kept walking and identified about a dozen potential rocks. I felt good that all the rock I needed I would find on put land.
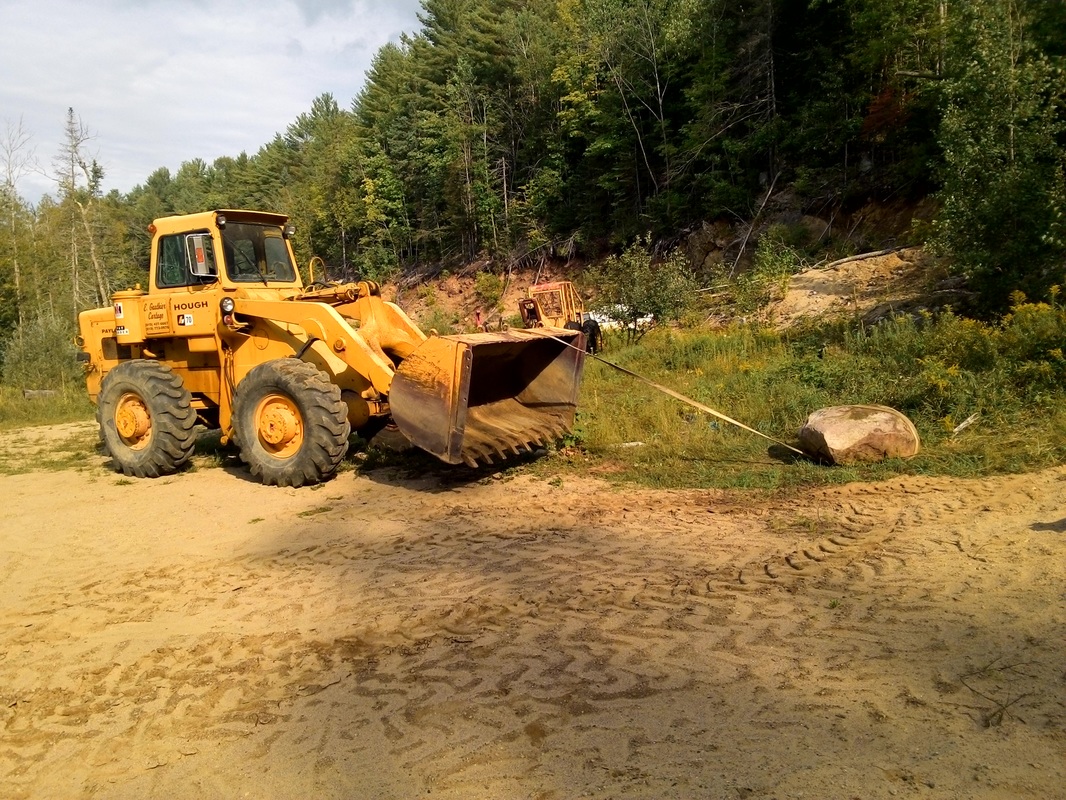
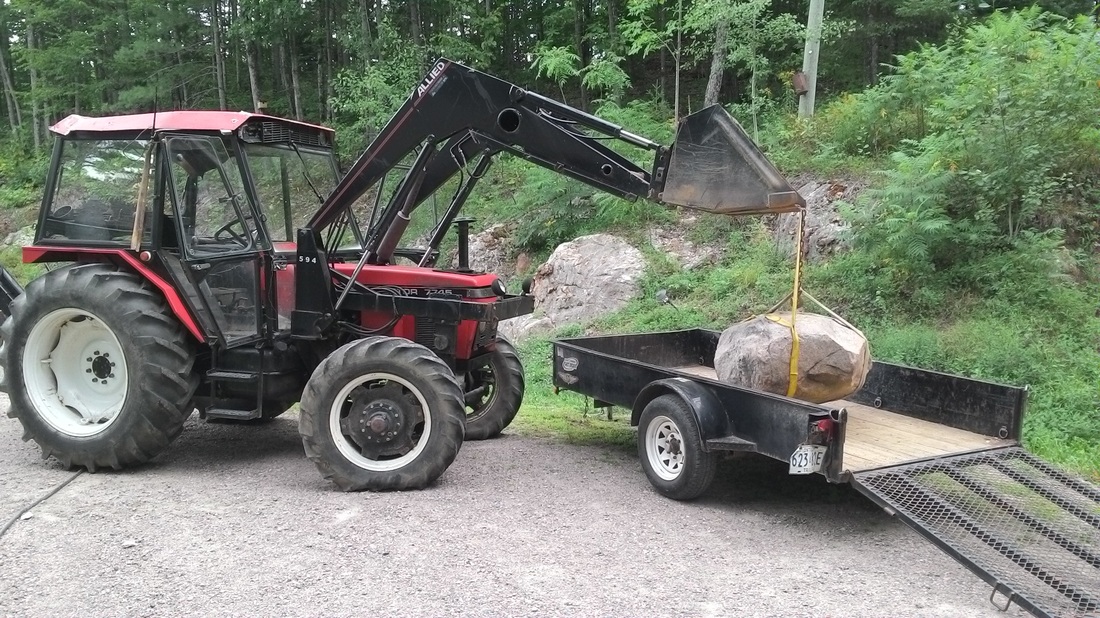
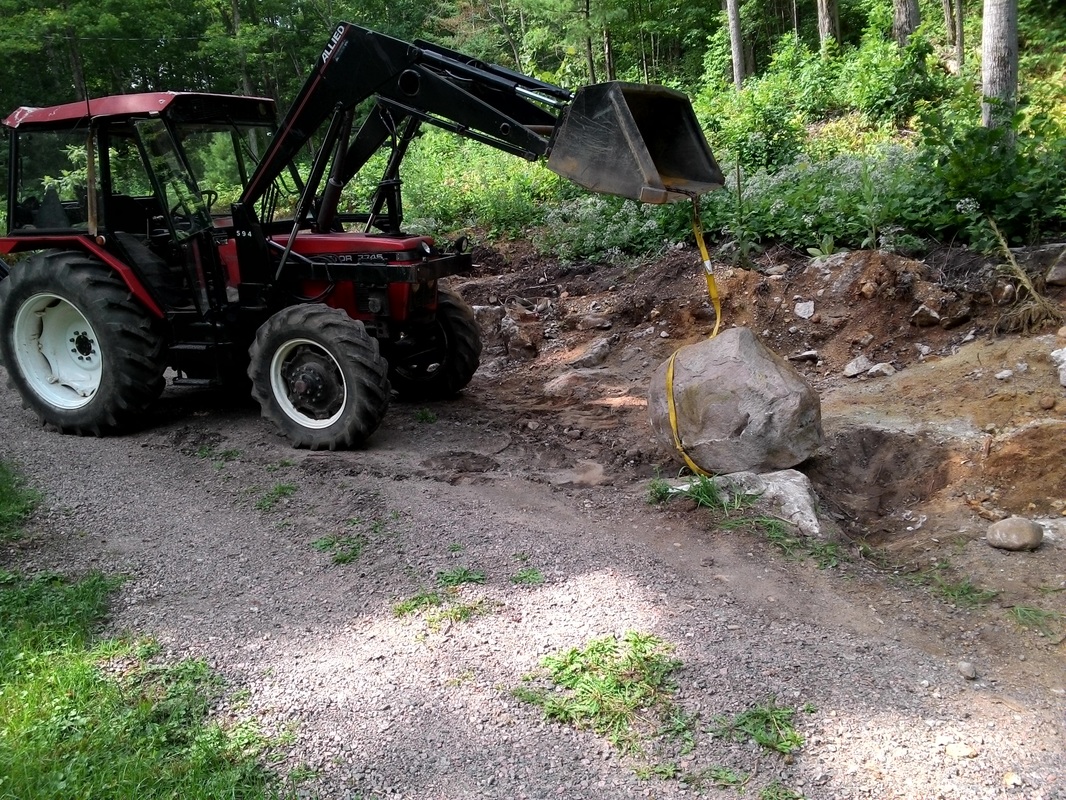
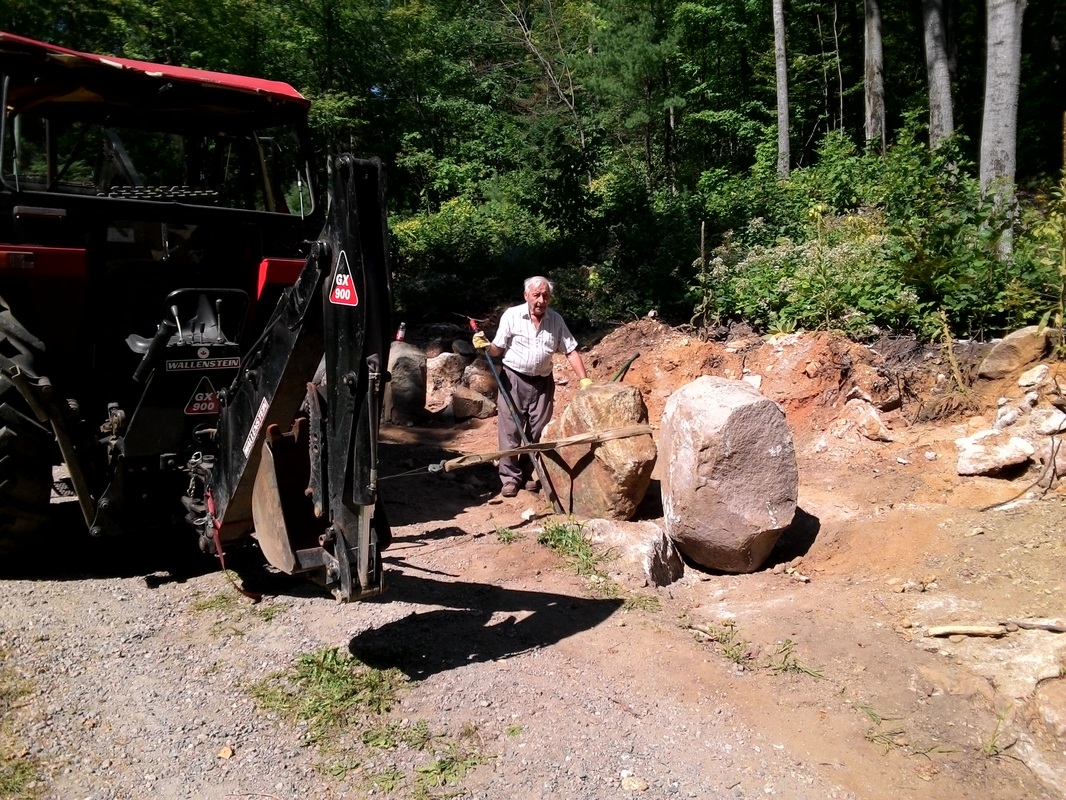
Finding a rock is one thing but moving it into place is another. Charles estimated the pink granite weighed over 700 pounds.I had just bought a new to me payloader, a Hughes 650 and it was a monster. I was sure I could sling that rock, drag it out of the bush, lift it onto the trailer and then I could drive it to Owls Nest where I could lift it off with the tractor and place it in position. I was right about the payloader, that beast lifted the rock like it was not even there. The trailer sagged a bit under the weight but I had no trouble driving it up to Owls Nest. My problems started when I tried to lift it off the trailer with the tractor. It wouldn't budge! I could go and get the loader but it didn't have breaks and I remember the last time I came down the hill with the tractor and almost put it in the lake. No thanks. Now hydraulics are a function of tractor rpm, so I revved the motor to max and lifted. The rock came up two inches. Besides lift, I can also tilt so I tried tilting the bucket up and now I was a foot off. I drove the trailer out from under the rock and drove the tractor, flattened tires and all, down the driveway to where I wanted to place the rock. Now I couldn't come in at right angles as I would have to drive on the weeping tiles of the septic system but as this was the first rock it shouldn't be a problem. I was alone and done in for the day so I left the rock there. I would place it tomorrow.
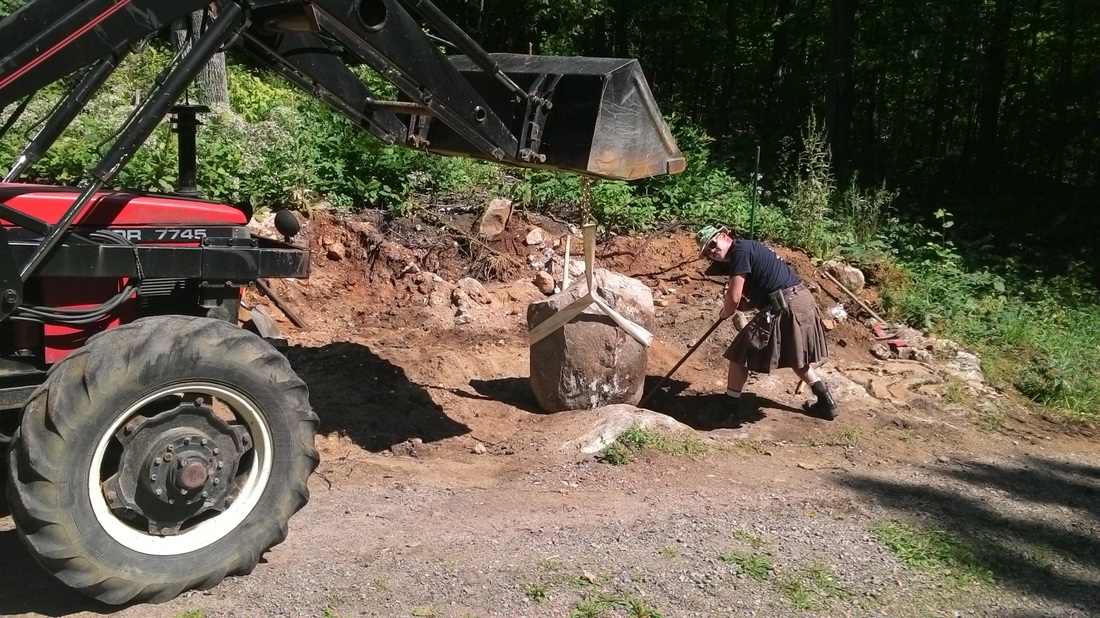
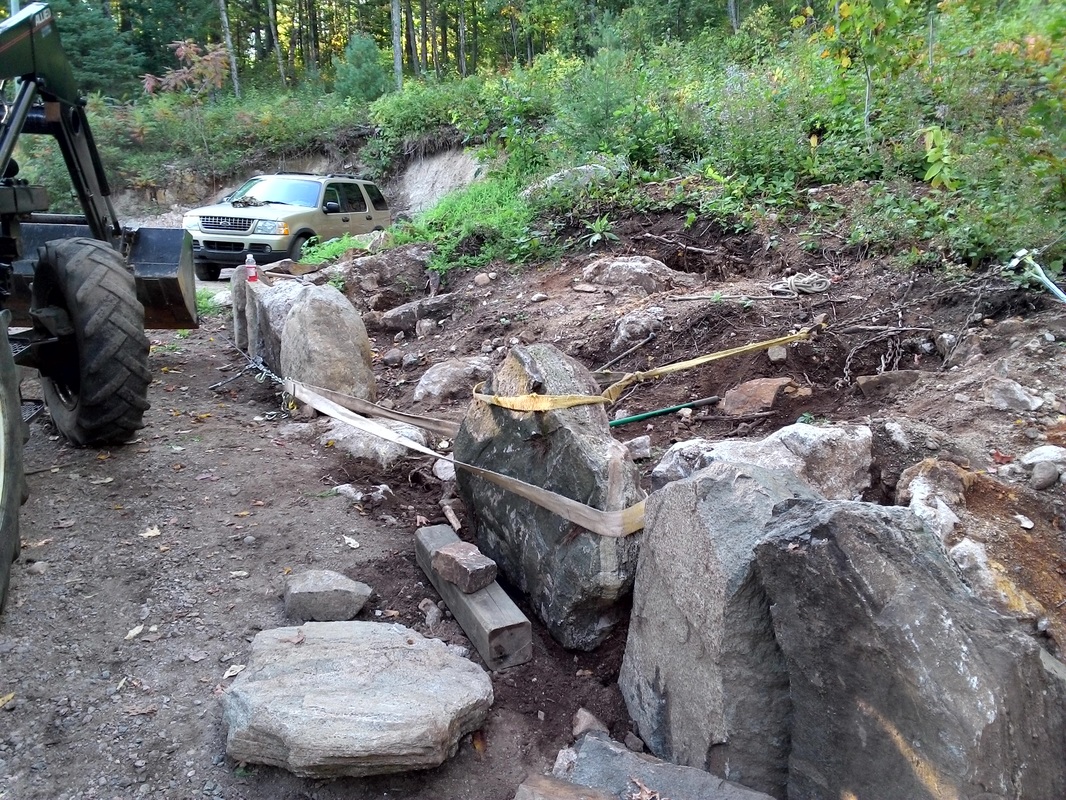
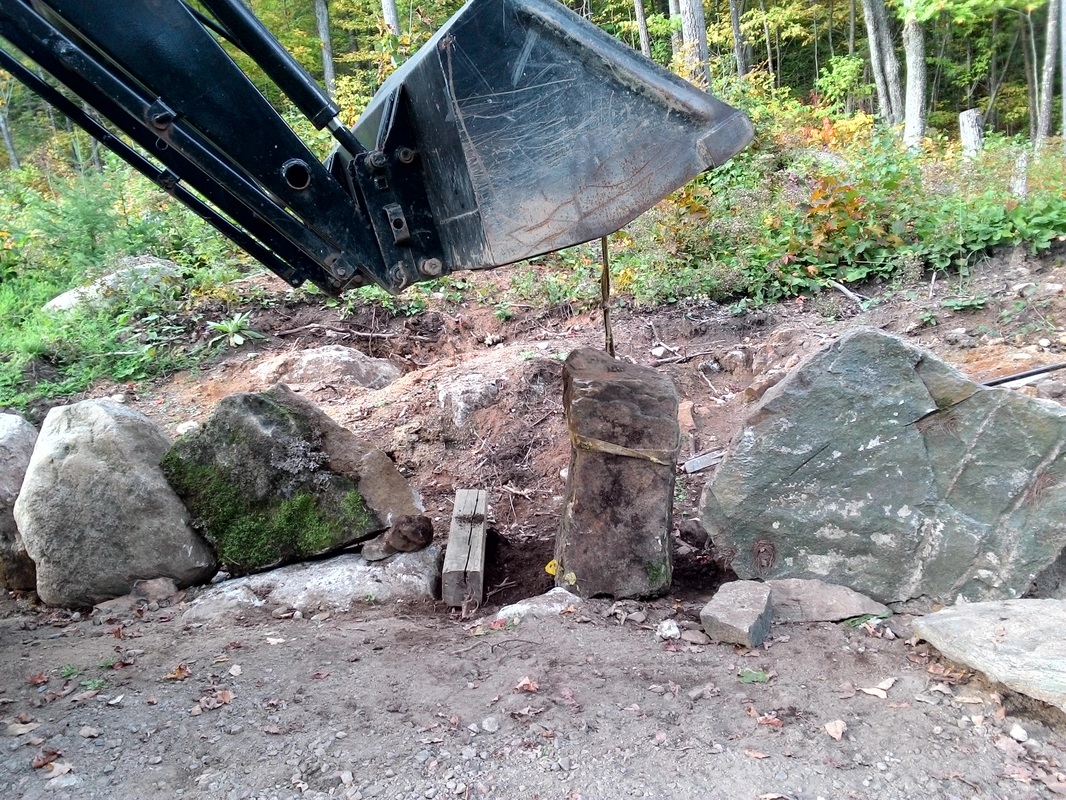
I had researched how to lift rocks but I only found one site that talked about what I was trying to do. What I gleaned from it was to use a single sling to lift the rock and let it hang freely. Trying to lift a rock straight with multiple slings was almost impossible to do. The problem with a single sling is that the rock will not hang straight and will rotate. Also where the sling goes through itself will set the direction of the lean as well as which way it faces. The height of the sling will set the amount of lean. The slope of the rock face also comes onto play. You need something for the sling to grab. Set the sling too high and it will slip off the top. Set it to low and the rock could flip over. All this I learned with this first rock. Luckily Charles was up to lend a hand. I was pretty nervous with Charles trying to muscle a 700 pound rock as I lifted, lowered and inched it into place. By just resting the rock on the ground, Charles was able to prybar it into place. It worked.
Moving the Pink Granite Rock
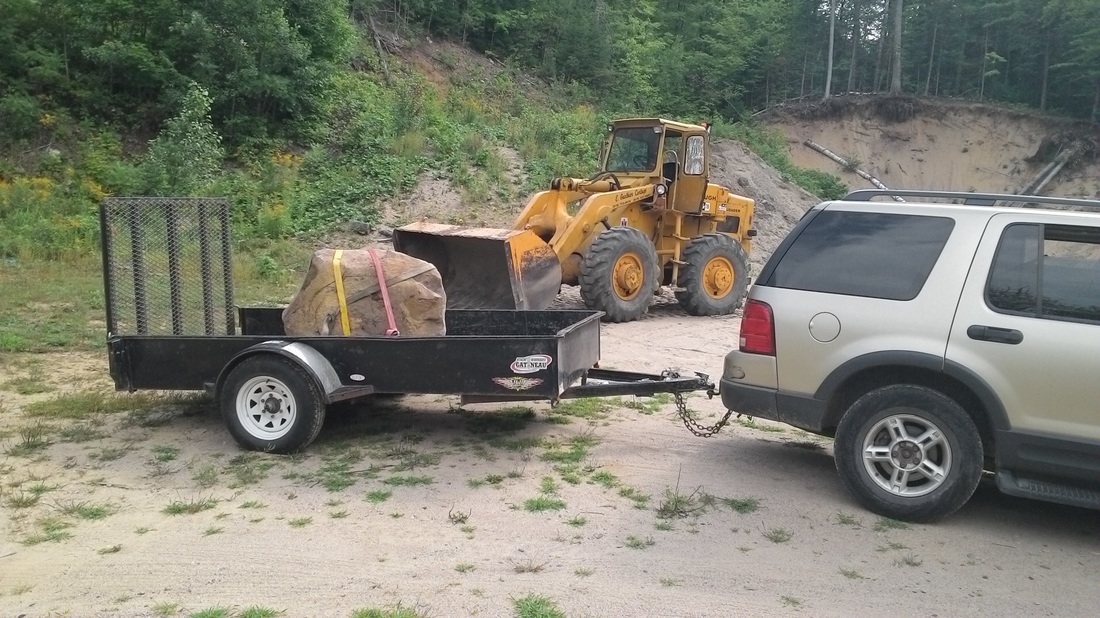
With the corner stone firmly on place, it's time to gather other rocks. While on our hike we had spotted several potential rocks. Sure enough, when I went back I found several stones that looked good.
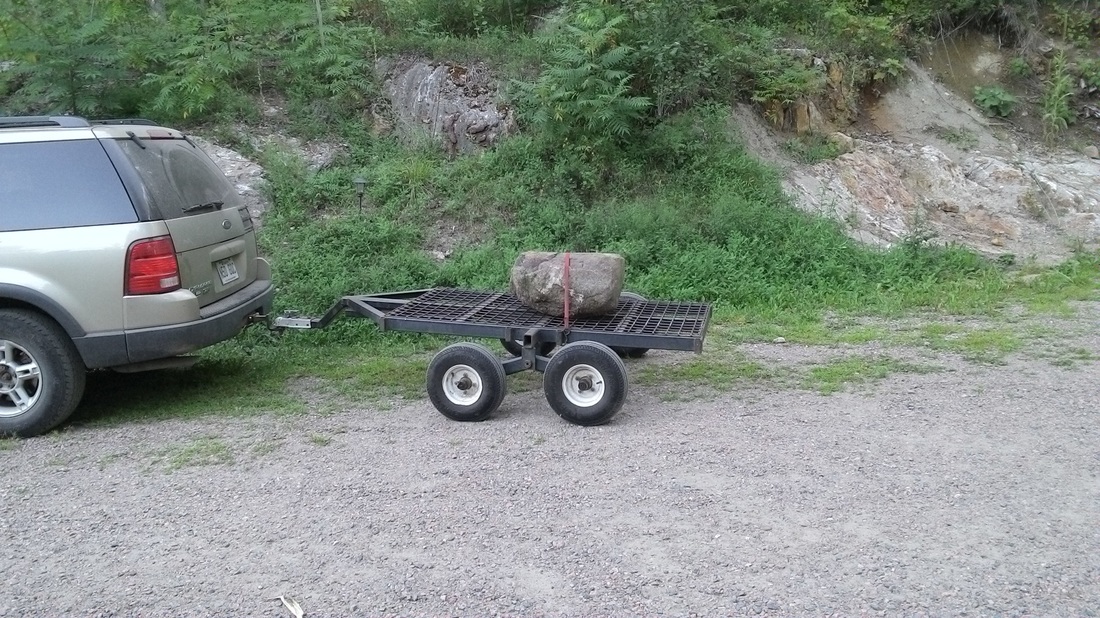
Now my plan was to have a fairly even top to the wall going from about 2 feet at the top of the driveway to 4 feet (the height of my pink granite) at the bottom. As I inspected each rock I checked for a flat bottom which was a must. In addition I wanted two flatish sides to butt against the rocks on either side and a flat outside facing the driveway. Oh yes, a flat or pointed top was good too. This was quite stringent criteria and it was rare to find it all in one rock, but I got pretty close on most of them. As I found rocks I would measure the height. Some were too short, one was too tall and a few were just too round instead of square as I wanted. Some were laying out on the ground, some were partially buried in the ground, some were along the trails and some were spotted out in the bush. All in all, I brought back and placed 24 rocks. Most were picked my the loader or tractor. For a couple I took the ATV and trailer onto the trails and winched the rocks onto the trailer. When we were building the yurt site the backhoe operator had placed a couple of very thin (6 inches) slabs onto the ground as steps. I took these too.
As I brought stones back I placed them according to height and the angle of fit against neighbouring rocks. I ended up with three separate groupings and it was quite tricky to find rocks of the right height and width fo fit the final gaps but I did it.
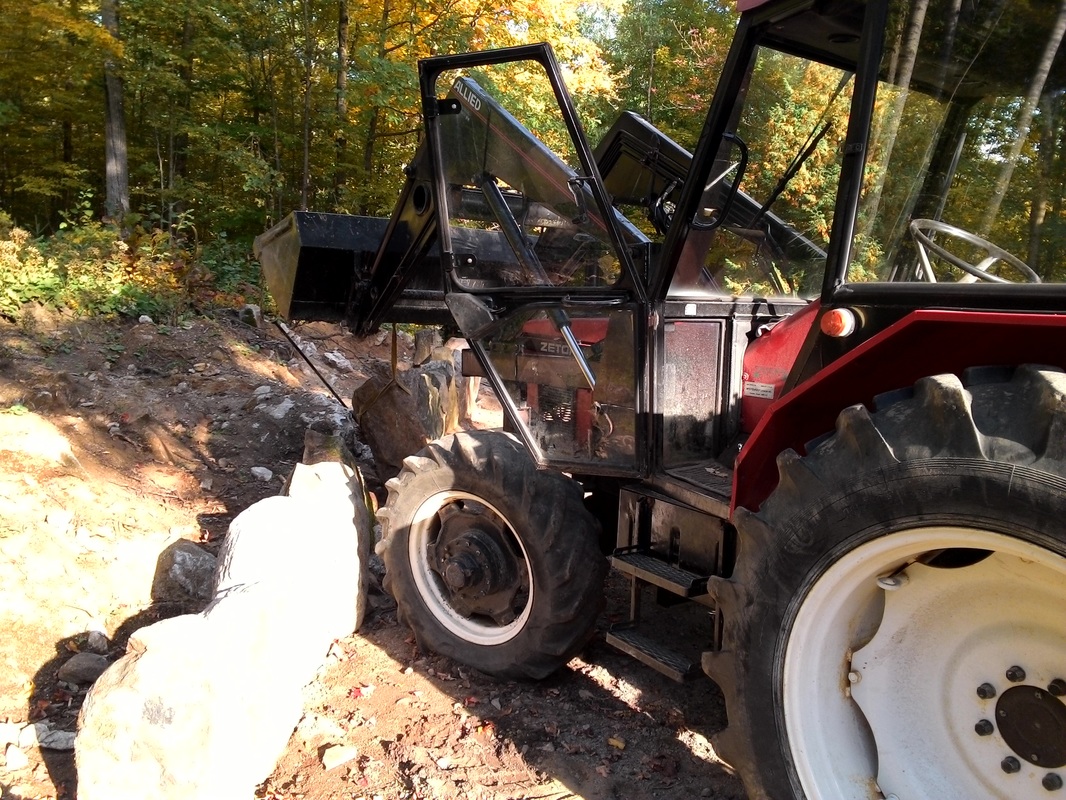
While I could place a rock relatively easily with the tractor by now, every rock had to be moved to ensure it was aligned with the next rock, wasn't too far in or out, butted firmly to lock it in place and was 90 degrees upright and not leaning over. To do this I found it handy to park the tractor along side the wall and to use a come along from the tractor to the rock to put it under tension and use the prybar to move the rock. To move away from the driveway I used a second come along from a tree up the hill, and to butt the stones, I used a third come along to pull the rock down the hill to touch the next rock. Complex but it worked beautifully.
Trailer Rocks

 RSS Feed
