Not sure what happened to last years entries? Oh well only made 2 gallons last year. At the moment we almost have the right temperatures for the maple trees to start running....let us see what this year brings.
Well the tapping of the trees started...20 in on March 06 which is also Arthurs 1st birthday. The remaining 30 were put in on the 7th and 8th.
March 9th we started the all day boil...I think we have every perfected for us by now. The end of the day resulted in 3 quarts of beautiful syrup.
It was dark by the time the syrup was ready to bring into the house to finish off. It took about 30 to 40 minutes to get it to the right temperature for maple syrup.
The stages....Im going to write it down again so I will remember for next year.
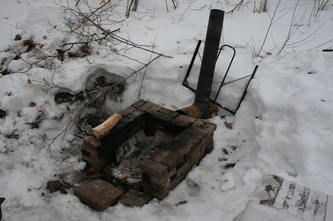
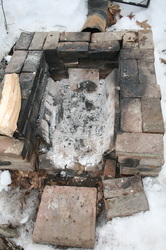
Prepare your fire pit in the fall and cover up....make sure it is level and that your pans fit. Our fire pit was built will old paving bricks and we lined it with odds and ends of fire brick that we had. The pans we bought brand new...I believe they were 80 bucks each....not cheap.
As the maple syrup season approaches we uncover the fire pit and dig all the snow around it. We take all our containers, pails, water bottles, taps, hoses and they get cleaned with a bleach solution in the bath tub and rinsed well. Now we are set to go.
Using a 7/16 spade bit we drill the holes about 3' from the base of the tree facing the south westerly side and on a slight upwardly angle. You want to make sure you have a nice tree with a good crown on it and a clear run to the top or a large branch. I like to do the tapping when the sap is running so you are sure to get a good hole, clean out the debris from the hole and tap in your tap with a hammer. Drip drip drip :) We begin
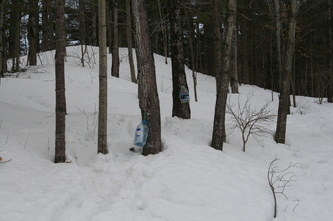
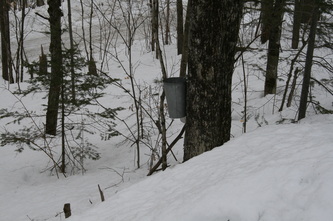
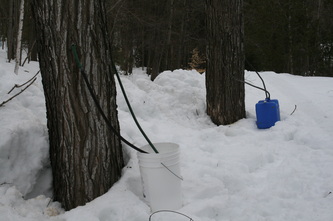
We use traditional pails, buckets, water containers, and in the big trees you can see the containers we use and then we attach hoses to the taps and they run into one container. In other trees we use these large water containers which are great because they have a handle and a small opening so not much rain can get in. With these container we need an eight inch piece of hose to reach inside of the bottle.
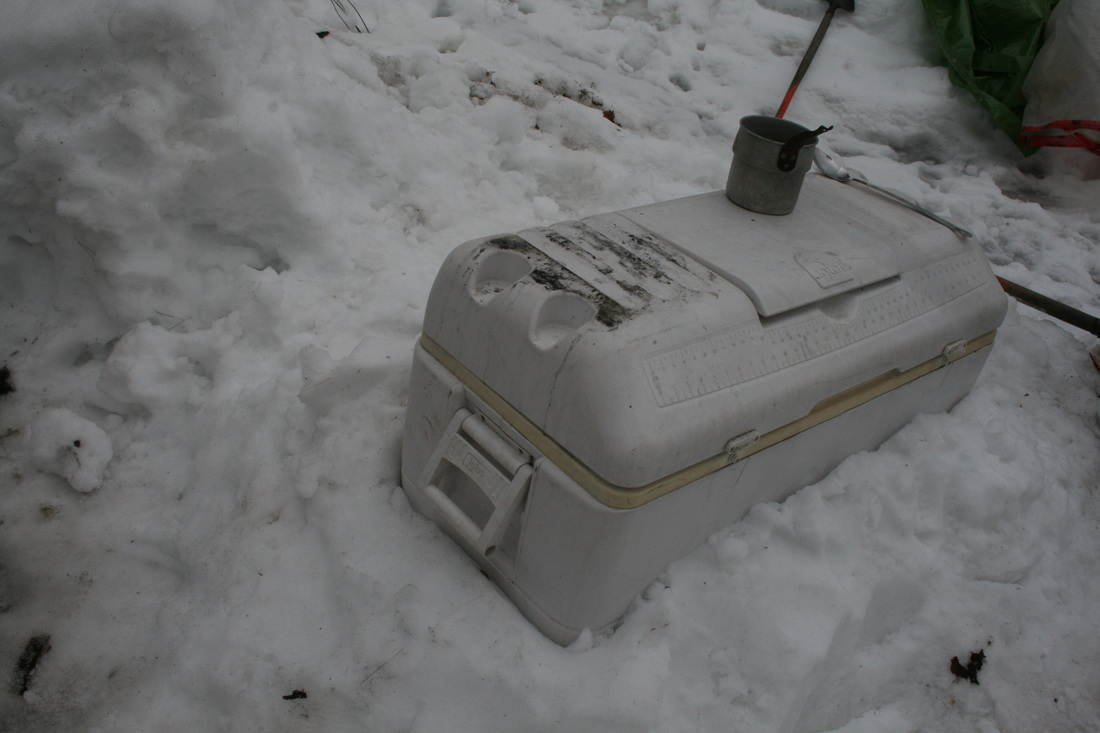
We use a 40 gallon 7 day cooler that I bury halfway in the snow as our resevoir for the sap till we are ready to boil. Because we have so many tap this can be full in one to 2 days. This is great because you do not want to have sap sit for too long as it can go bad. I like the cooler container because it keeps the sap at a fairly consistent temperature.
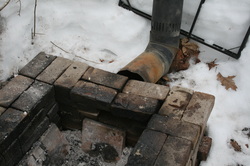
You will see in the picture below that the pipe at the back seems to be detached...well it is. We left an opening about the size of a brick or two at the back and the pipe helps with the draft and draws the smoke away.
You will see in the picture below that the pipe at the back seems to be detached...well it is. We left an opening about the size of a brick or two at the back and the pipe helps with the draft and draws the smoke away.

Assemble your tools.
Filter and pre filters....I bought the reusable washable filter for about $18 and the pack of 12 pre filters for about $13...yes you need these....I tried using homemade ones the last few years and I had various cloudy batches....now they are crystal clear. You want to line your big filter with the pre filter
Filter and pre filters....I bought the reusable washable filter for about $18 and the pack of 12 pre filters for about $13...yes you need these....I tried using homemade ones the last few years and I had various cloudy batches....now they are crystal clear. You want to line your big filter with the pre filter
At the end of the day we got about 3 litres of perfectly clear delicious maple syrup
 RSS Feed
