Good lord what is she up to now!
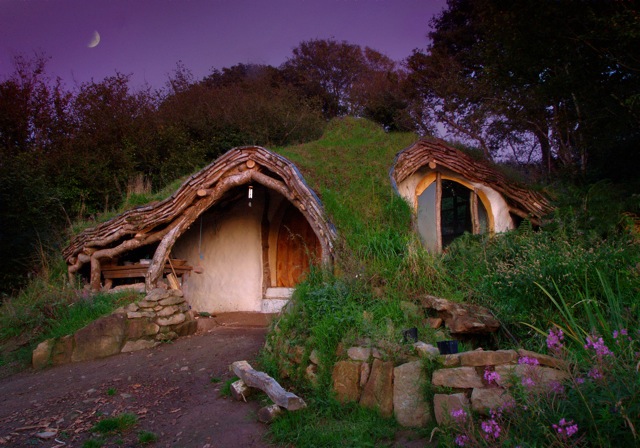
It all started with a picture someone posted on facebook, a hobbit house built by Simon Dale............wow, you can see it below.
I had to see more and away I went, pictures got printed, things got googled, ideas, fantasies, 3 books got ordered, walks in the woods for the perfect spot for a hobbit house and voila, a week later a miniature prototype was born. I will play with the model, learn and take it from there.
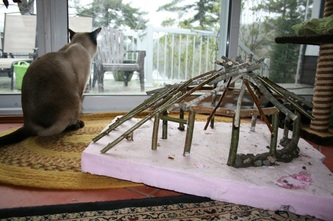
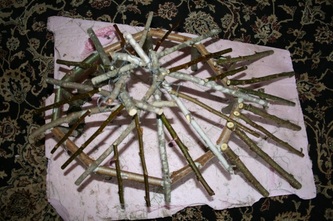
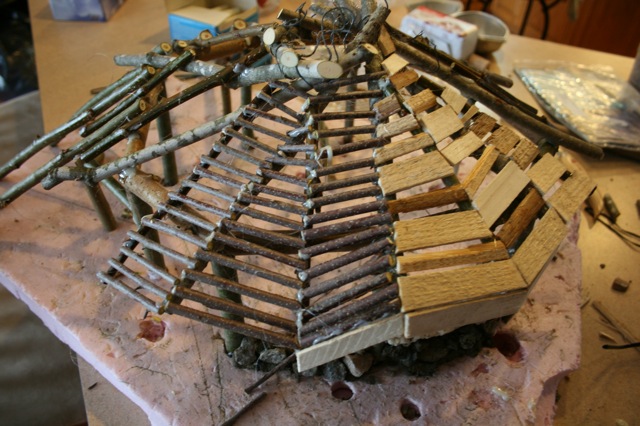
The first thing I had to play with was the reciprocal roof system....I could'nt figure out how it could support itself so I stacked them all up and held them together with wire at the top and voila it works! I even put a heavy object on it to see if it would support it and it did.
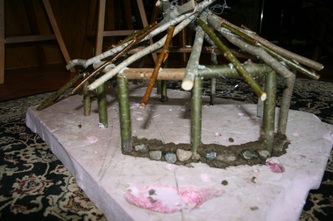
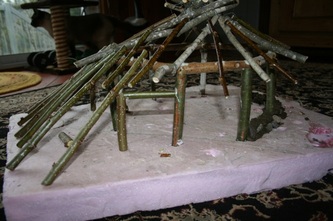
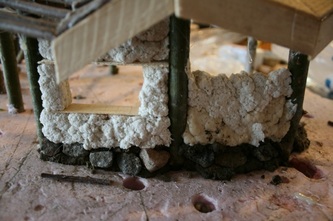
Next I lay some stones with clay for the bottom of the wall then I did the log henge and a rafter was rested on every support, a total of nine. Then I put in some smaller secondary rafters as I felt the span was too great.
Now with all the cross bracing it will be perfectly strong enough to support a sod roof with ferns, grasses, yellow lady slippers, etc.
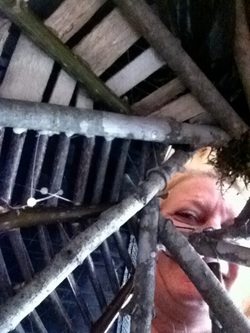
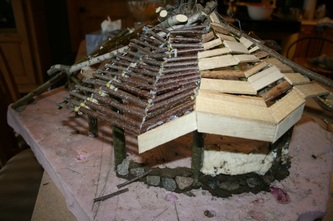
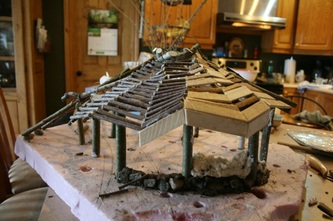
I have tried 2 different types of cross bracing on the rafters...we have a saw mill and 230 acres of forest so no shortage of trees. I think I will use the slab cut from the sides of the trees instead of the planks so everything gets used up or maybe I can mix it up like you see here. It would be cool to look up and see that from inside....don't you think?
To make the model I am using wire, glue gun....although with a glue gun it basically just tacks everything in place instantly and the goop takes a number of hours to cure but it holds tight so I add it here and there. I dont want it to fall apart on me.
I used an old piece of styrofoam to build it on and I can see now that I wont be able to build any additions on it as it is not big enough, but heh this is just for me to learn from.
I'm thinking of doing it with cob, straw????? but am waiting for three books on this so I can read everyones one's views and techniques so that I can come to a conclusion as to how I will do it. Of course things will probably all change as we go along. The internet is full of stuff on this as well.
I love the look of the thick cob walls, making cob is hard work....will delve into that with you later....that part of it may be where our friends come in:)
I will also keep track of the cost of it....will try to make it as minimal as possible. This will just be a work of art, a labor of love.
Dwight says he has no time for new projects but he's coming around....(either do I) butI know this is right up his alley too and I am sure he will get his hands dirty too! Yesterday I showed him the site and he loved it. Dwight says "Always a sucker for another Lucy project. They are just so darn interesting and fun!!!"
Starting on the Wall
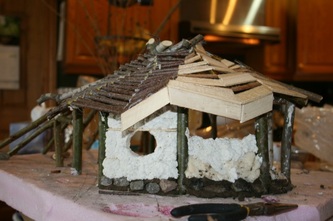
I couldnt wait to do the cob work so I made up a batch of salt dough, filled in the wall and it slouched down. I could do it the way you are supposed to, about a foot at a time and let it dry a bit so as to support the next layer but heh, for my model thats way too long so I found a bag of paper mache in my crafts box and built it up with that, put is a pine frame for window and filled in the corners to make a nice round window...very cute....more bird house than hobbit though...wait till I'm done.
Now it's time to clean up and get to jobs that really need doing!
 RSS Feed
